Getting started
This page walks the whole first run: make a project, look at what the extension shows you, and
launch it. It assumes the extension is installed and the day CLI is on your PATH — if not, start
with Install and update.
New to Day itself? What Day is explains the framework in a few minutes, and this page will still make sense without it.
1. Open the walkthrough
Press ⇧⌘P (Ctrl+Shift+P on Windows and Linux) and run Day: Get Started with Day. VS Code also offers it on its Welcome page the first time you install the extension.
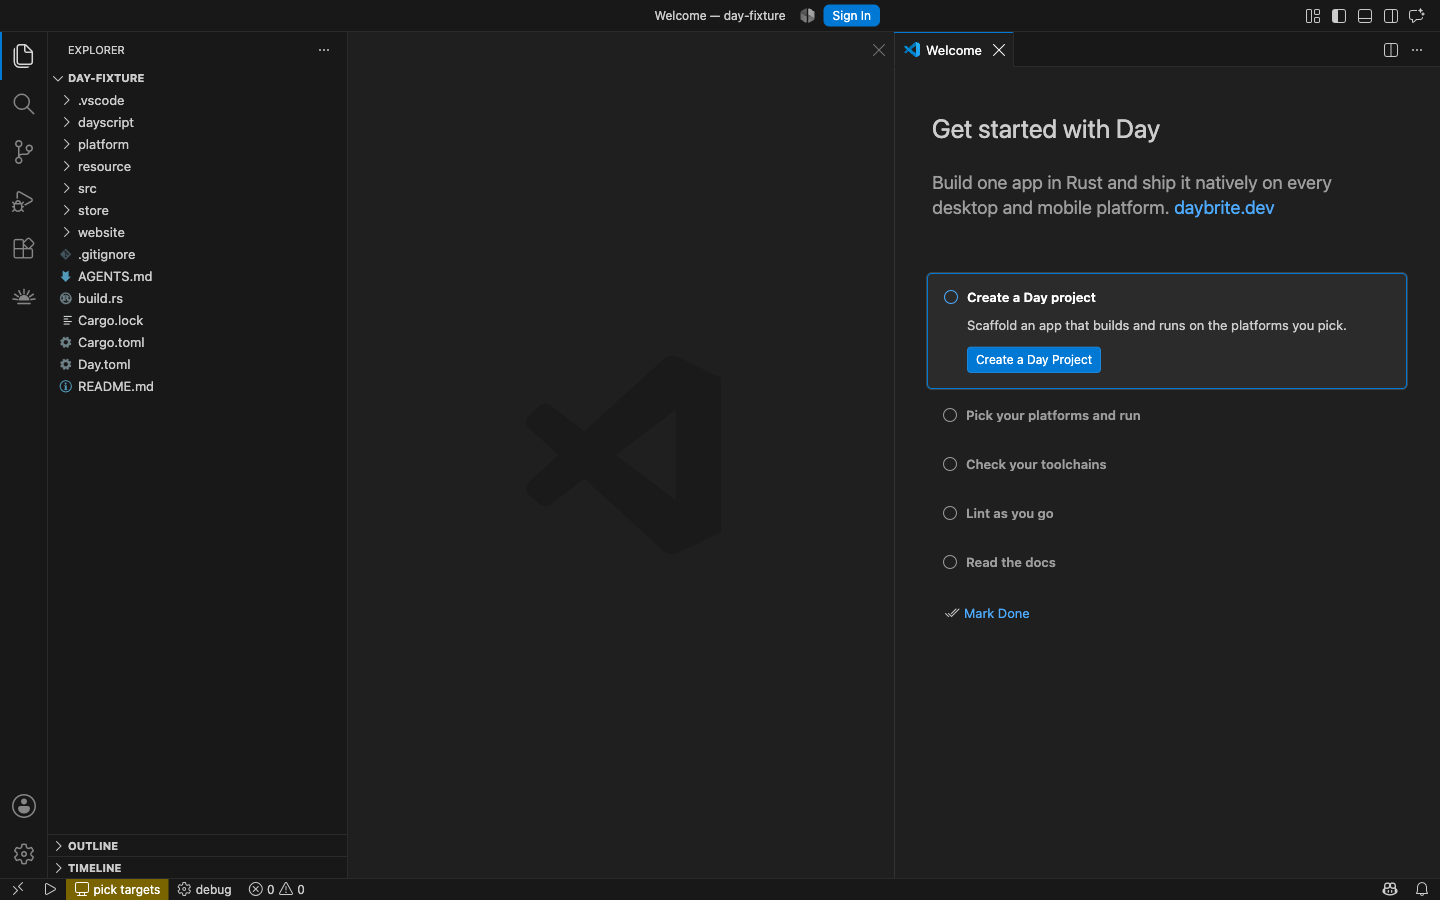
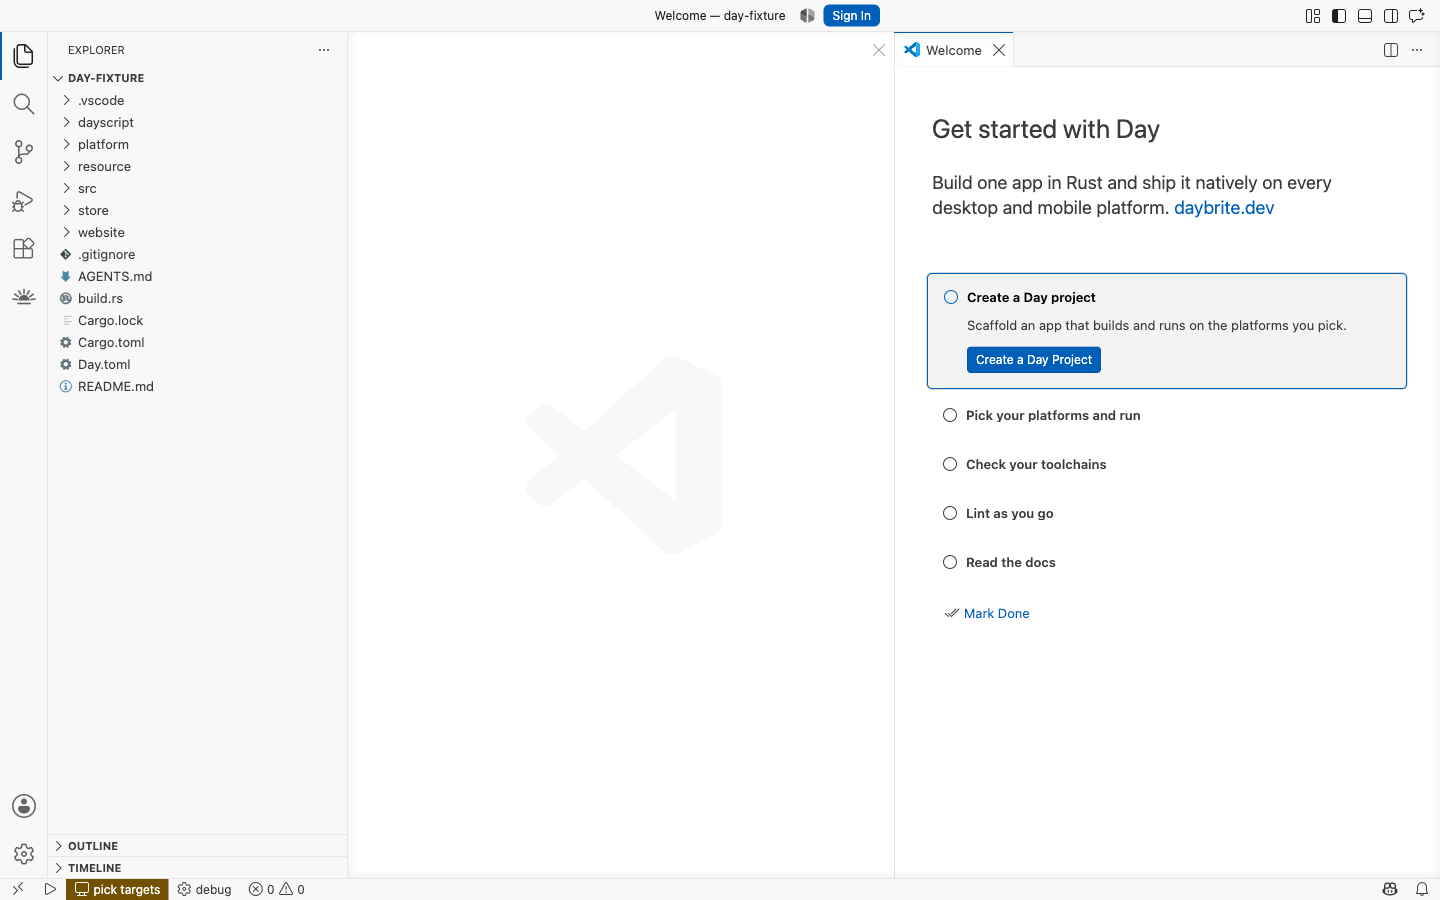
The first step’s button is the same command as the next section, so you can follow either.
2. Create a project
Run Day: New Project…. You will be asked what to build, what to call it, and which platforms it
should ship to — the questions come from your day CLI, so the platforms offered are the ones it
actually supports.
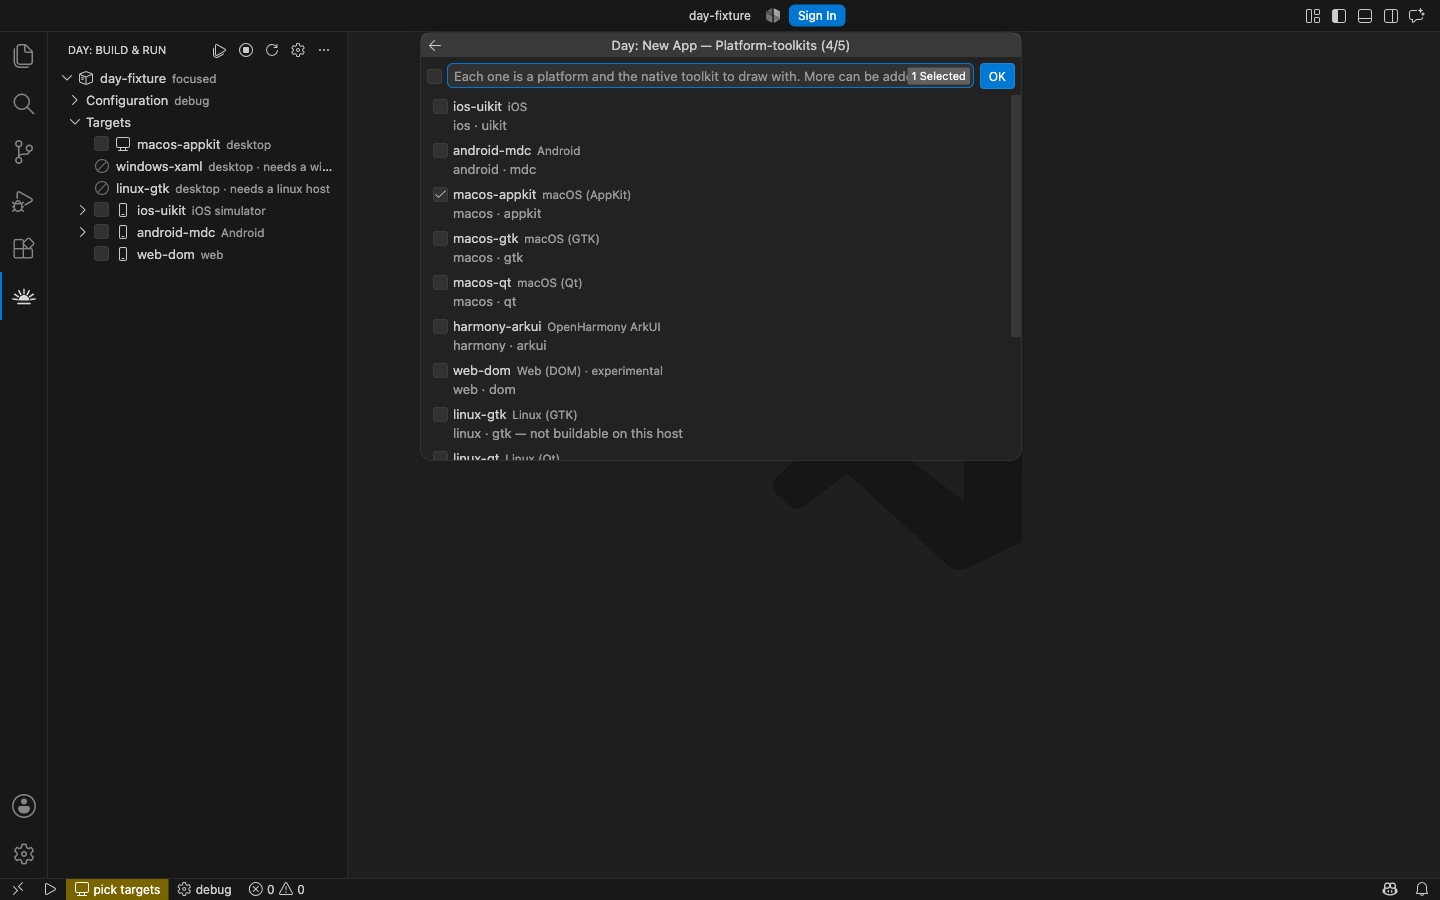
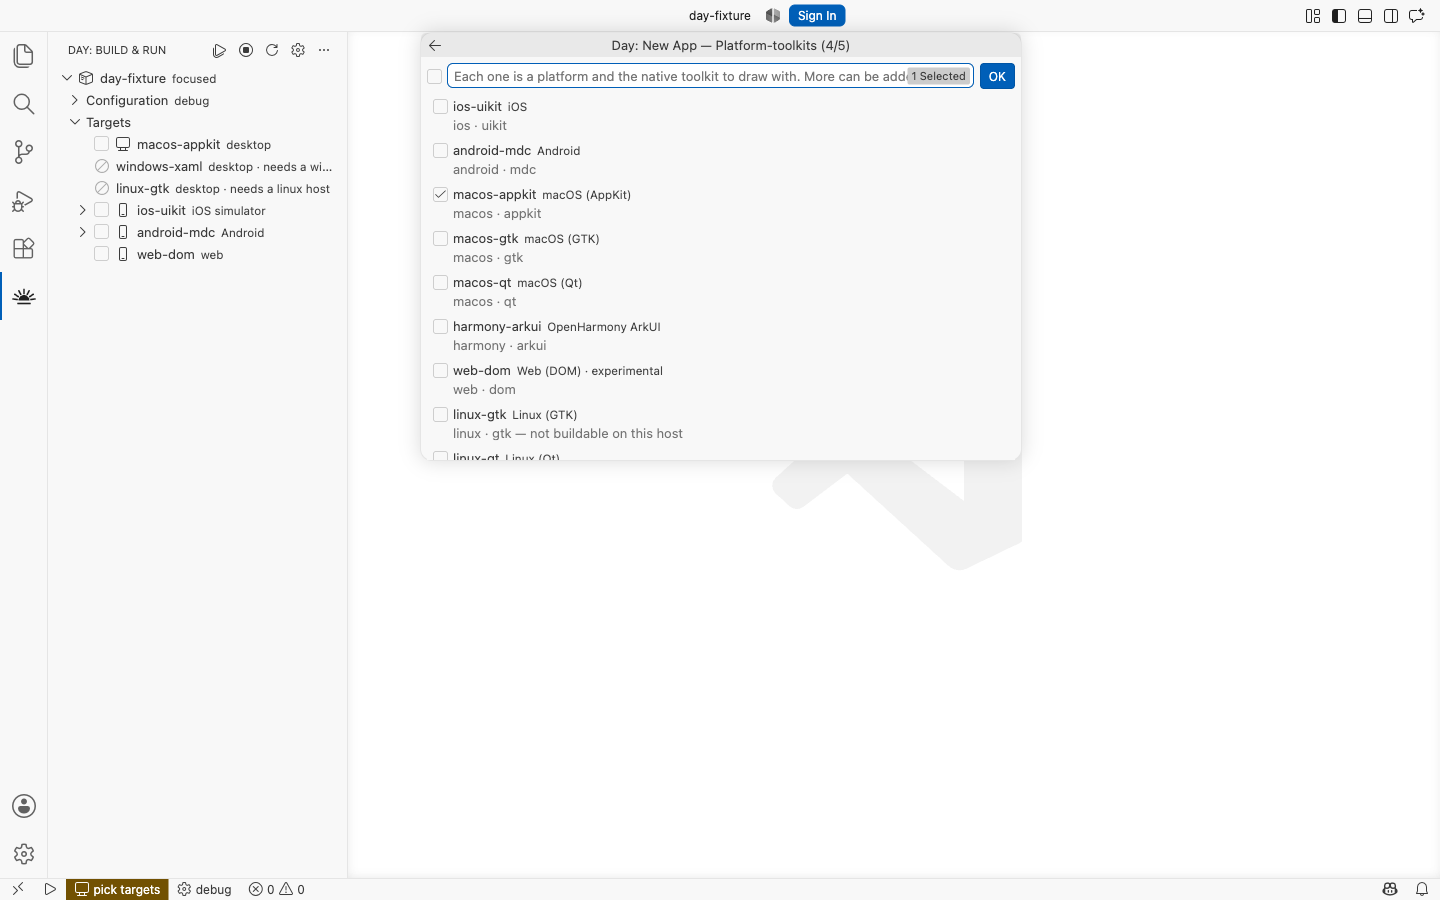
Creating a project covers every question, and what a piece and a part are.
Already have a Day project? Just open its folder. The extension activates on Day.toml.
Take the recommended extensions
Opening a scaffolded project, VS Code offers the extensions its .vscode/extensions.json names.
Take them — a Day app is a Rust crate, and this extension does not do that part:
| Extension | What it gives you |
|---|---|
| rust-analyzer | The Rust language service — completion, go-to-definition, and errors as you type. Your root() is Rust; without it you are editing in the dark. |
| Even Better TOML | Validation and completion in Day.toml and Cargo.toml. |
This extension deliberately does not require them. It drives the day CLI — building, running,
linting, packaging — and none of that needs a language server, so nothing here forces one on a
machine that only has to run a Day app. The scaffold recommends them because writing one is
much better with them.
A bare cargo check works with no flags in a scaffolded app: the crate’s default mock backend is
what lets rust-analyzer resolve the whole tree without you choosing a target first.
3. Read the Day view
Open the Day icon in the activity bar. It lists every Day project in the window, and under each one:
- Configuration — build mode, locale, dayscript, log level and verbosity
- Targets — every entry in the project’s
Day.toml
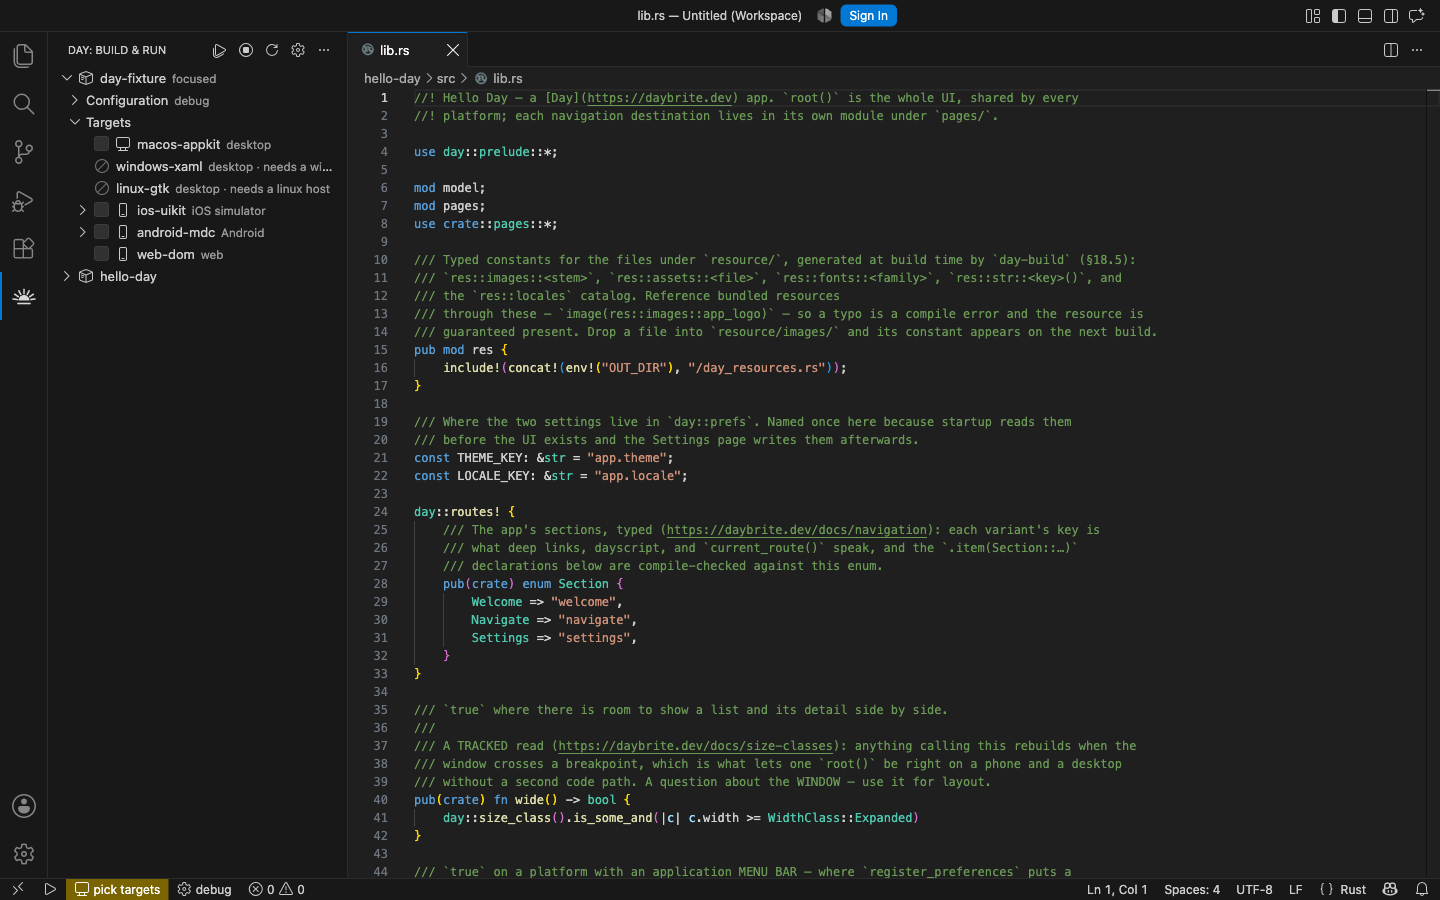
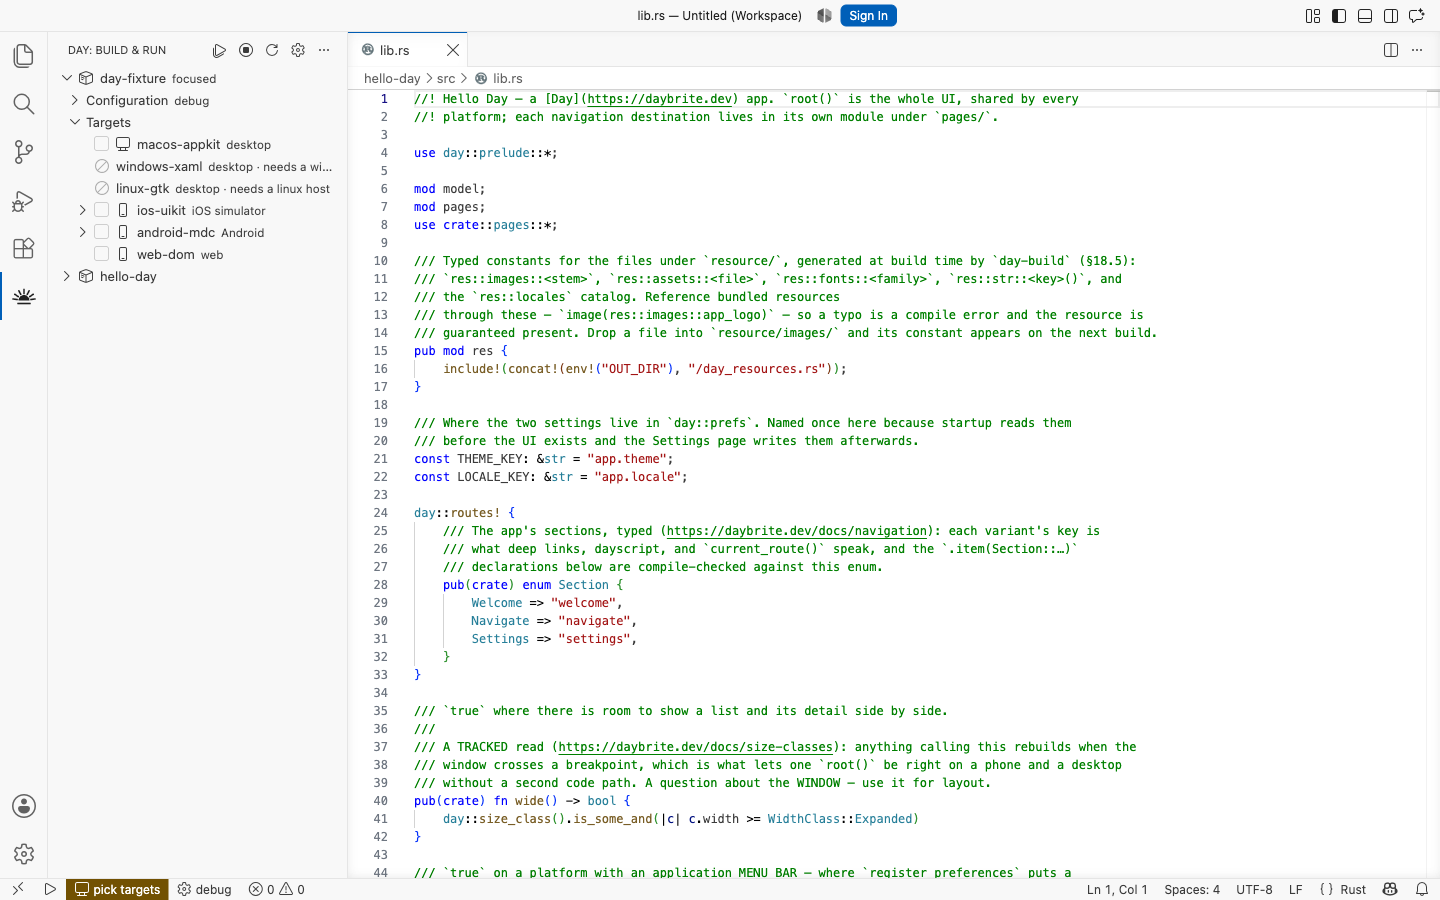
A macOS machine cannot build windows-xaml, so that row is left out and the Targets heading
says how many were hidden. Set day.hideUnavailableTargets to false to list them instead: they
sit at the bottom of the group, greyed out and giving the reason. Either way an app can ship to
platforms you only ever build on CI. What each target is, and what it needs installed, is covered
in Platforms.
4. Run it
Tick a target’s checkbox and press Run in the view’s title bar.
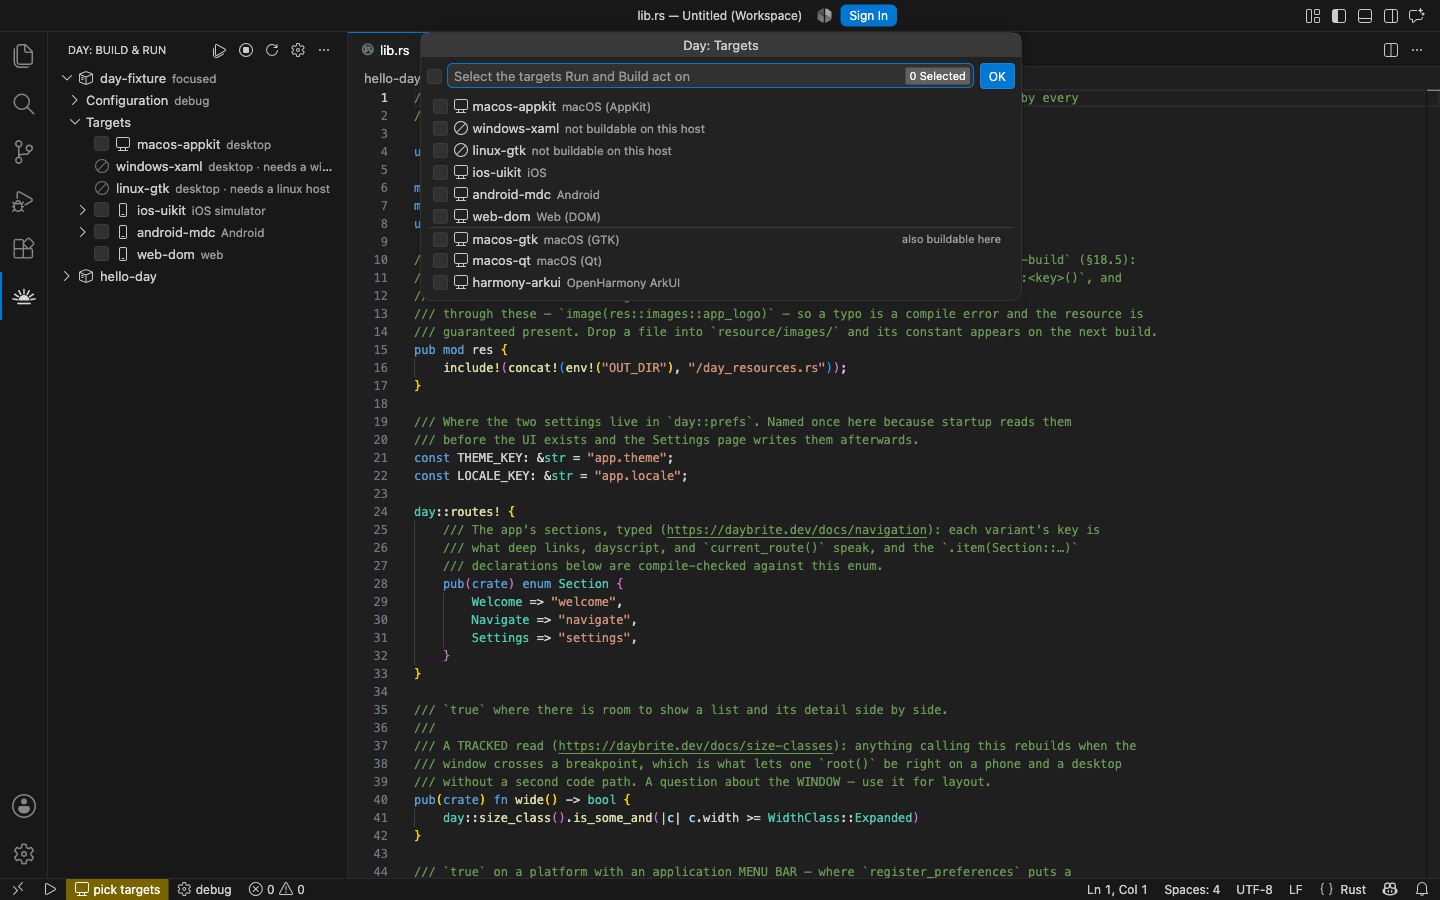
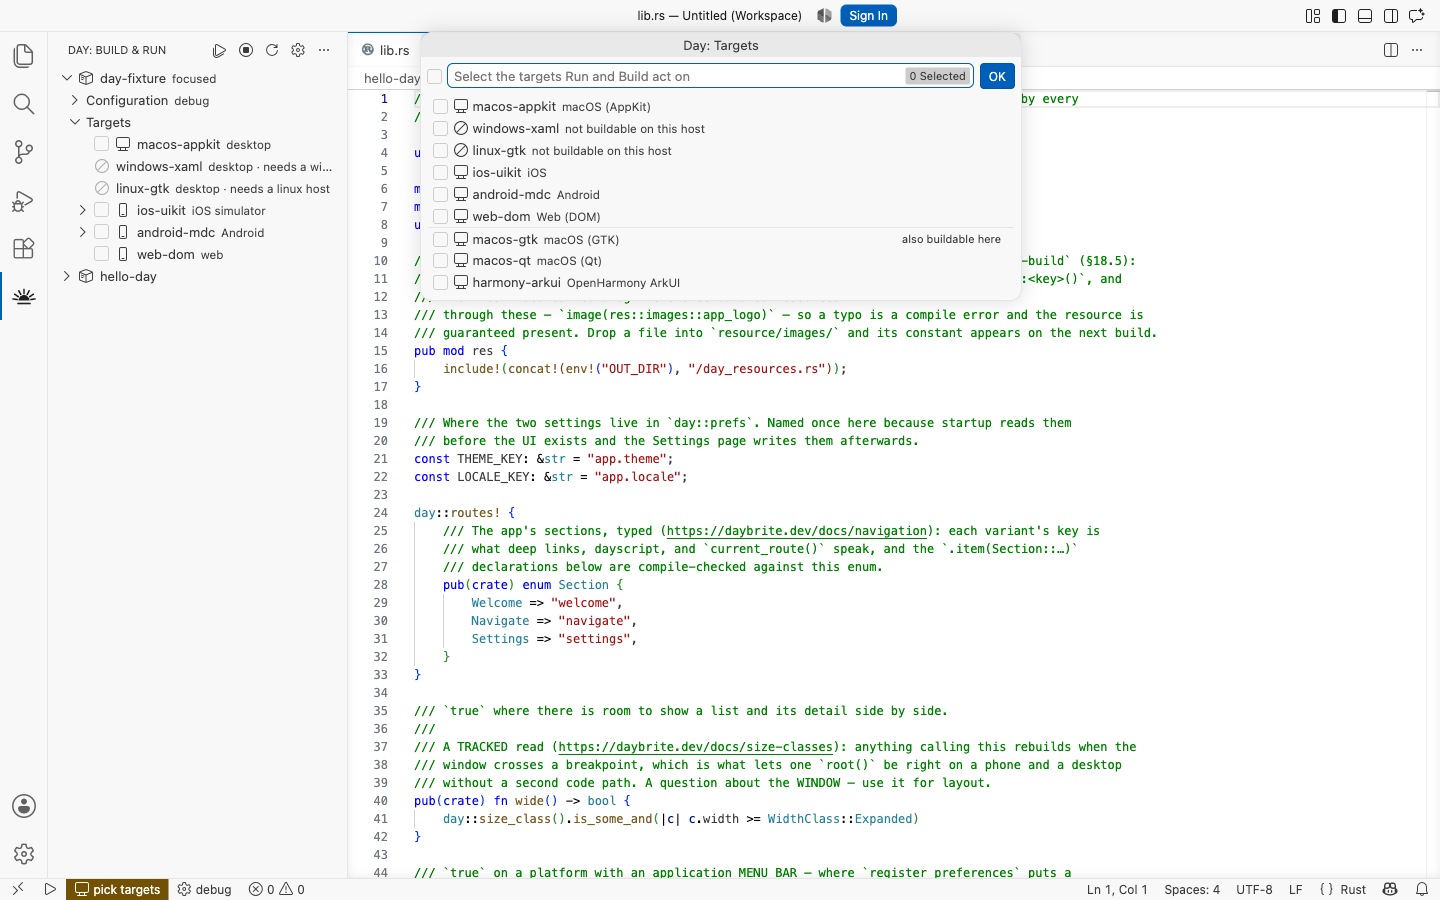
Each target launches as a VS Code task in its own terminal, so output keeps its colours and stays separated per target. Tick two and both run at once — every row gets its own stop and restart buttons, and the status bar shows how many are live.
Build does the same without launching, which is what you want when you only care about compile
errors. They arrive through the $rustc problem matcher and land in the Problems panel.
Running a mobile target? Simulators, emulators and devices covers choosing which one it lands on.
5. When something is missing
Every platform needs its own SDK, and the first build on a new machine is where you find out which one you lack. Day: Doctor (check toolchains) checks them all.
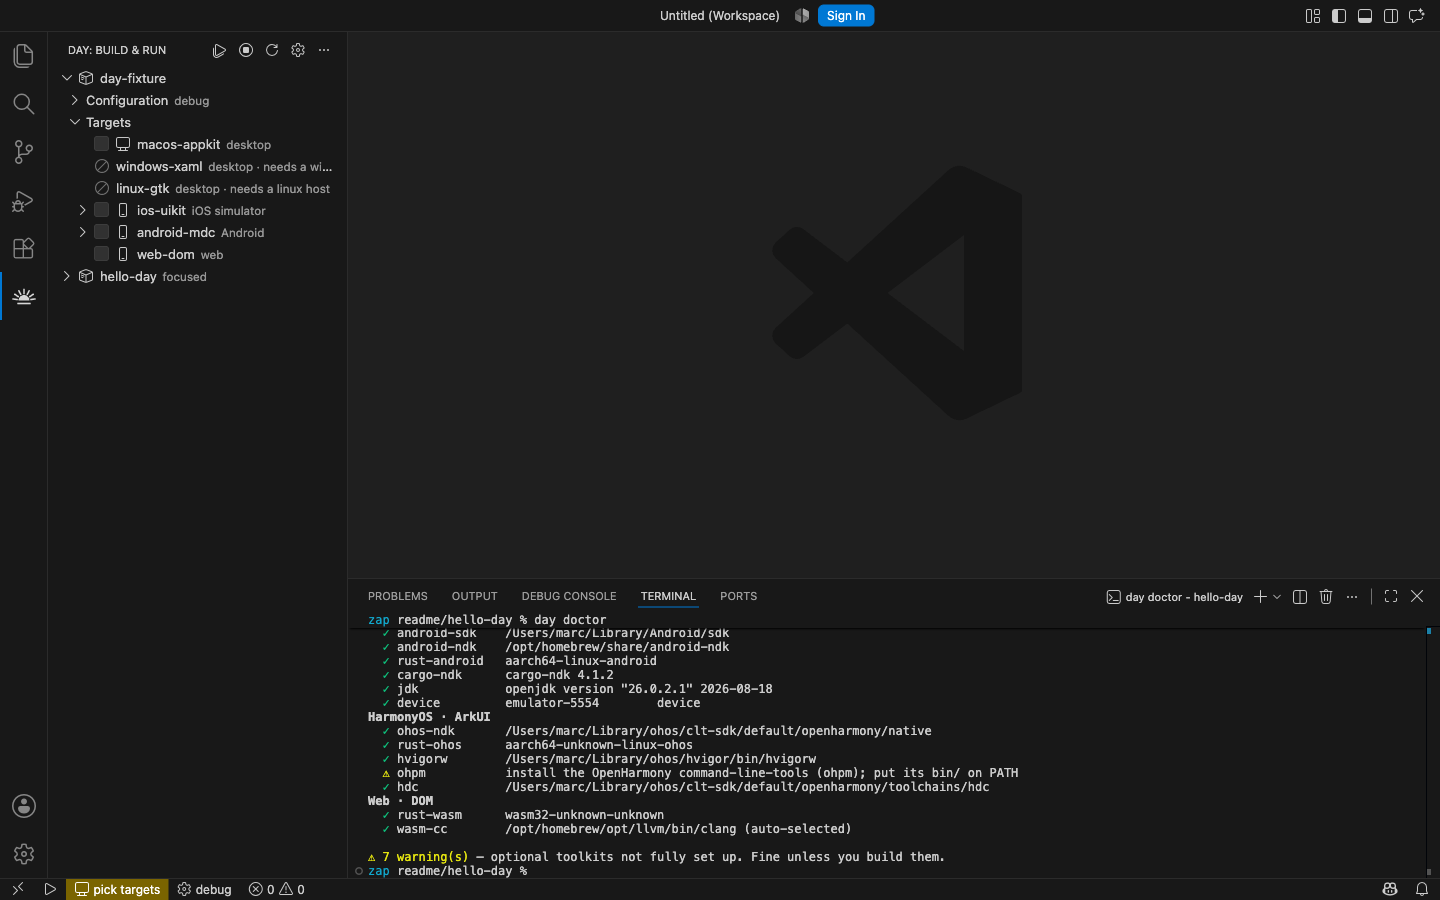
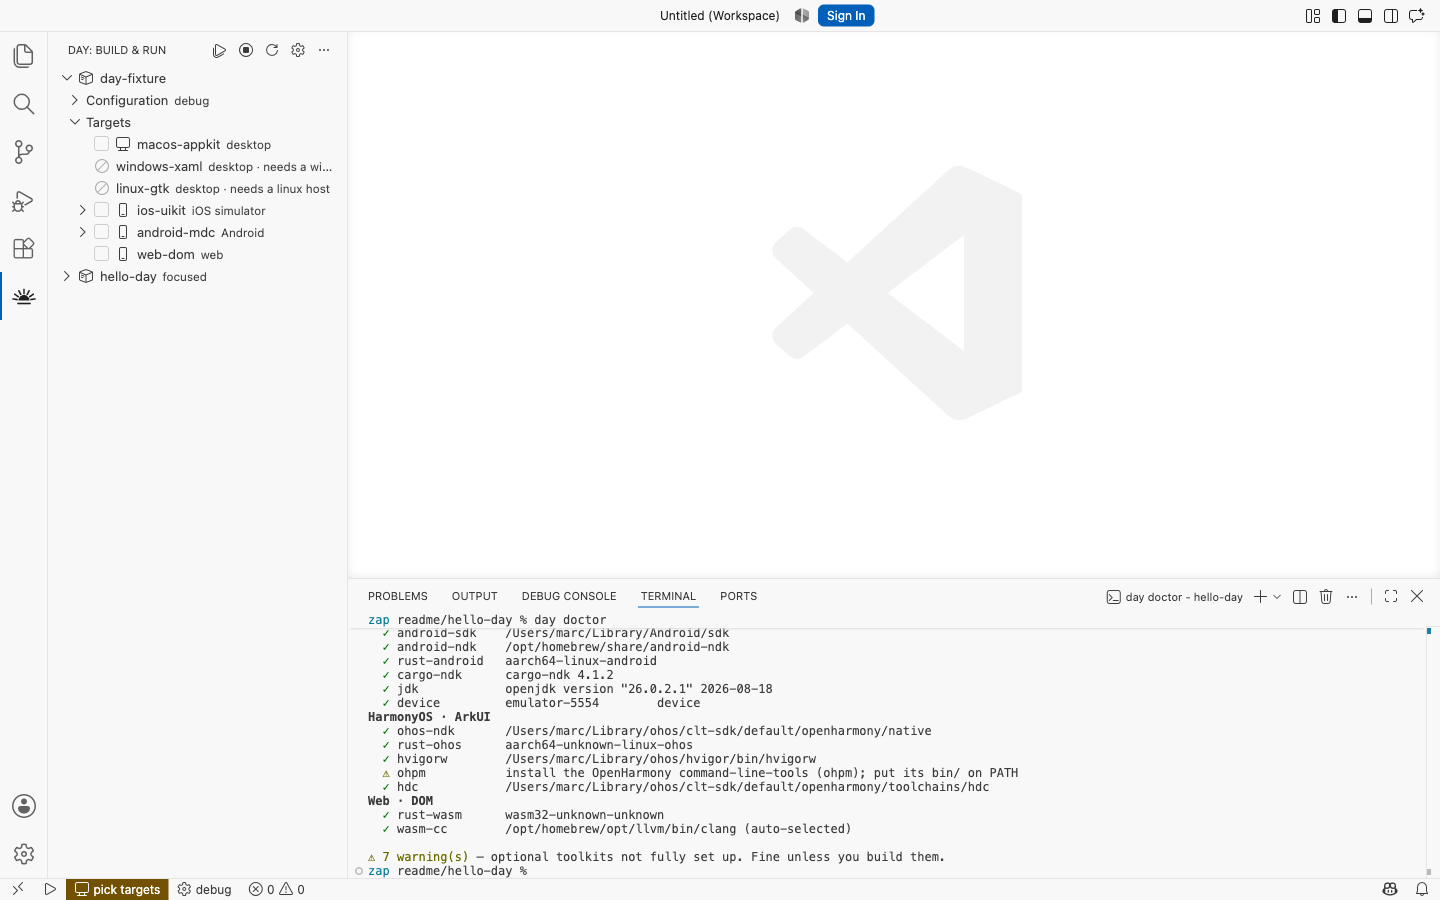
Only a missing build prerequisite is ever an error. A warning means a toolkit you are not building today is not fully set up, which is fine until you build it.
What to look at next
- Creating a project — the wizard, in full
- Simulators, emulators and devices — running on mobile
- Linting — findings in the editor, with quick fixes
- Commands and settings — everything the extension adds
- Troubleshooting — when the view is empty or a build will not start
And on the framework itself:
- Your first app — writing Day code
- Project structure — what the scaffold made
- Pieces — the UI vocabulary
- dayscript — driving a running app from a script